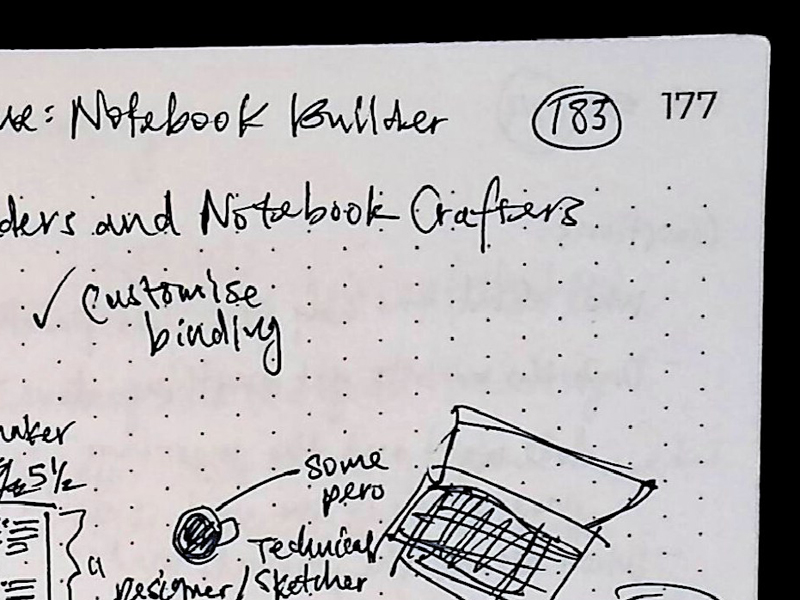
Engineering a Notebook Builder
July 03, 2021


Starting Point
Starting from early in the process, I implemented an “engineering UI” built with Storybook JS . This would embody all the core functionality and expose all the parameters. This allowed me to begin prototyping and experiment with customizing notebooks for daily use and insight.
Eating My Own Dog Food
As you can see, page numbers were an afterthought. I'm also using plain paper, with no printed pattern. The first notebook resulted from just settling into the idea of actually binding my own sketchbook and my first try at Coptic stitch.
Printing the page numbers was still to be implemented. The next iteration featured a print pattern I re-created after a sketch notebook I liked. Unfortunately, it turned out to be non-trivial and involved a lot of dirty coding practices.
At this point, the notebook maker can grab a stack of paper from the printer and immediately begin cutting them or folding them into the signatures .
I also discover the importance of having flyleaves . But this further complicates the algorithm for calculating page numbers!
The current iteration comes after exploring cleaner layouts and styling, mimicking the high-end notebooks I observed. Also, I begin experimenting with different patterns and pattern colors.

Leveraging Storybook.js as my engineering UI
Using an “engineering UI”, I ran some experiments to observe the process of creating a notebook with an everyday printer and paper. The iterations I went through (below) helped me understand 1) the more important things about making notebooks and 2) how to down-scope my list of feature ideas to a critical set.
Experiments in Notebook Building
I push the limits of my printer to create a hand-bound, 236-page, 8.5″ × 7″ sketchbook on 105 gsm paper, complete with page numbers and a dot-grid pattern for sketching.

